

Last Updated: 2 November 2026
Quick Summary
To manage diabetes without finger pricks, many people use a continuous glucose monitor (CGM), a small sensor worn on the back of the upper arm that reads glucose from the fluid between your cells. It sends readings to an app, showing your level, its direction of travel and your recent history throughout the day.
- Sensors read glucose in interstitial fluid, so readings can lag slightly behind blood glucose.
- Check whether the NHS funds a sensor for you before buying privately.
- Choose a sensor that supports the alerts and data-sharing you need before buying a multi-pack.
- Watch trend arrows, not only the number, and respond to alerts promptly.
- Confirm readings with a finger-prick test if they do not match how you feel.
Table of Contents
- How Continuous Glucose Monitors Work Without a Finger Prick
- Step 1: Choose the Right Sensor for Your Needs
- Step 2: Apply and Start Your Sensor Safely
- Step 3: Decide When to Check Glucose With Your CGM
- Step 4: Know When a Finger-Prick Check Still Matters
- Step 5: Build Daily Habits Around Your Glucose Trends
- Booking Your Sibionics GS3-R Starter Sensor and Next Review
- Frequently Asked Questions
How Continuous Glucose Monitors Work Without a Finger Prick
Learning to manage diabetes without finger pricks is now a realistic option for many people. A continuous glucose monitor (CGM) is a small sensor worn on the skin that tracks glucose levels throughout the day.
A CGM is a small sensor, usually worn on the back of the upper arm, that reads glucose levels continuously. Instead of drawing blood, it takes readings from the fluid between your cells. That means you can see trends and changes as they happen, not only at the moment you choose to test.
What the sensor measures in interstitial fluid
The sensor measures glucose in interstitial fluid, the thin layer of fluid that surrounds the cells under your skin (NICE). Glucose in this fluid follows blood glucose with a short delay. This is why a CGM reading can differ slightly from a finger-prick reading, especially when your glucose is changing quickly.
The Sibionics GS3-R is designed to provide up to 14 days of continuous monitoring. Check the product instructions for the wear time that applies to your device.
How readings reach your phone or reader
The sensor sends readings by Bluetooth to a phone app or a separate reader. You can see your current glucose, the direction it is heading, and your recent history. Many systems can also sound alerts when your glucose goes above or below the limits you set.
Step 1: Choose the Right Sensor for Your Needs
The right sensor depends on your age, your daily routine, how often you need readings, and, crucially, how you will pay for it. Start by thinking about how active you are, whether you need alerts, whether you want to share data with a family member or clinician, and whether you expect to wear a sensor continuously or only for short periods.
NHS availability versus private purchase
Whether the NHS funds a continuous glucose monitor depends on your individual circumstances and current NHS guidance (the NHS). Before you buy privately, ask your diabetes team whether you meet the criteria for an NHS-funded sensor. Check the current NHS guidance for the latest position. NHS guidance on continuous glucose monitoring
Features that actually change your experience
Sensors differ in wear time, warm-up period, water resistance, alert options, and how many sensors you buy at once. The Sibionics GS3-R is available as a single sensor, a two-pack and a three-pack, so you can match the supply to how long you expect to use it.
- Single sensor: a good starting point if you want to try a CGM first, or if you only need occasional trend data
- Two-pack or three-pack: useful if you plan to wear sensors continuously
- Active lifestyle: check the water resistance rating before swimming, showering or exercising heavily
- Alerts: if you need low-glucose alarms, confirm the sensor and app support them before you buy
- Warm-up time: some sensors need a short warm-up before readings are reliable; factor this into your routine
Troubleshooting when a reading feels off
Even a well-fitted sensor can occasionally give a reading that does not match how you feel. A reading may lag behind symptoms during rapid changes. If a reading feels wrong, do not act on it alone: confirm with a finger-prick test, check that the sensor is still within its wear time, and make sure the app has synced recently. If the discrepancy persists, contact your diabetes team or the sensor manufacturer's support line rather than guessing.
Watch out: buying a sensor that does not support the alerts or data-sharing you need is an expensive mistake, confirm the features before you commit to a multi-pack.
Step 2: Apply and Start Your Sensor Safely
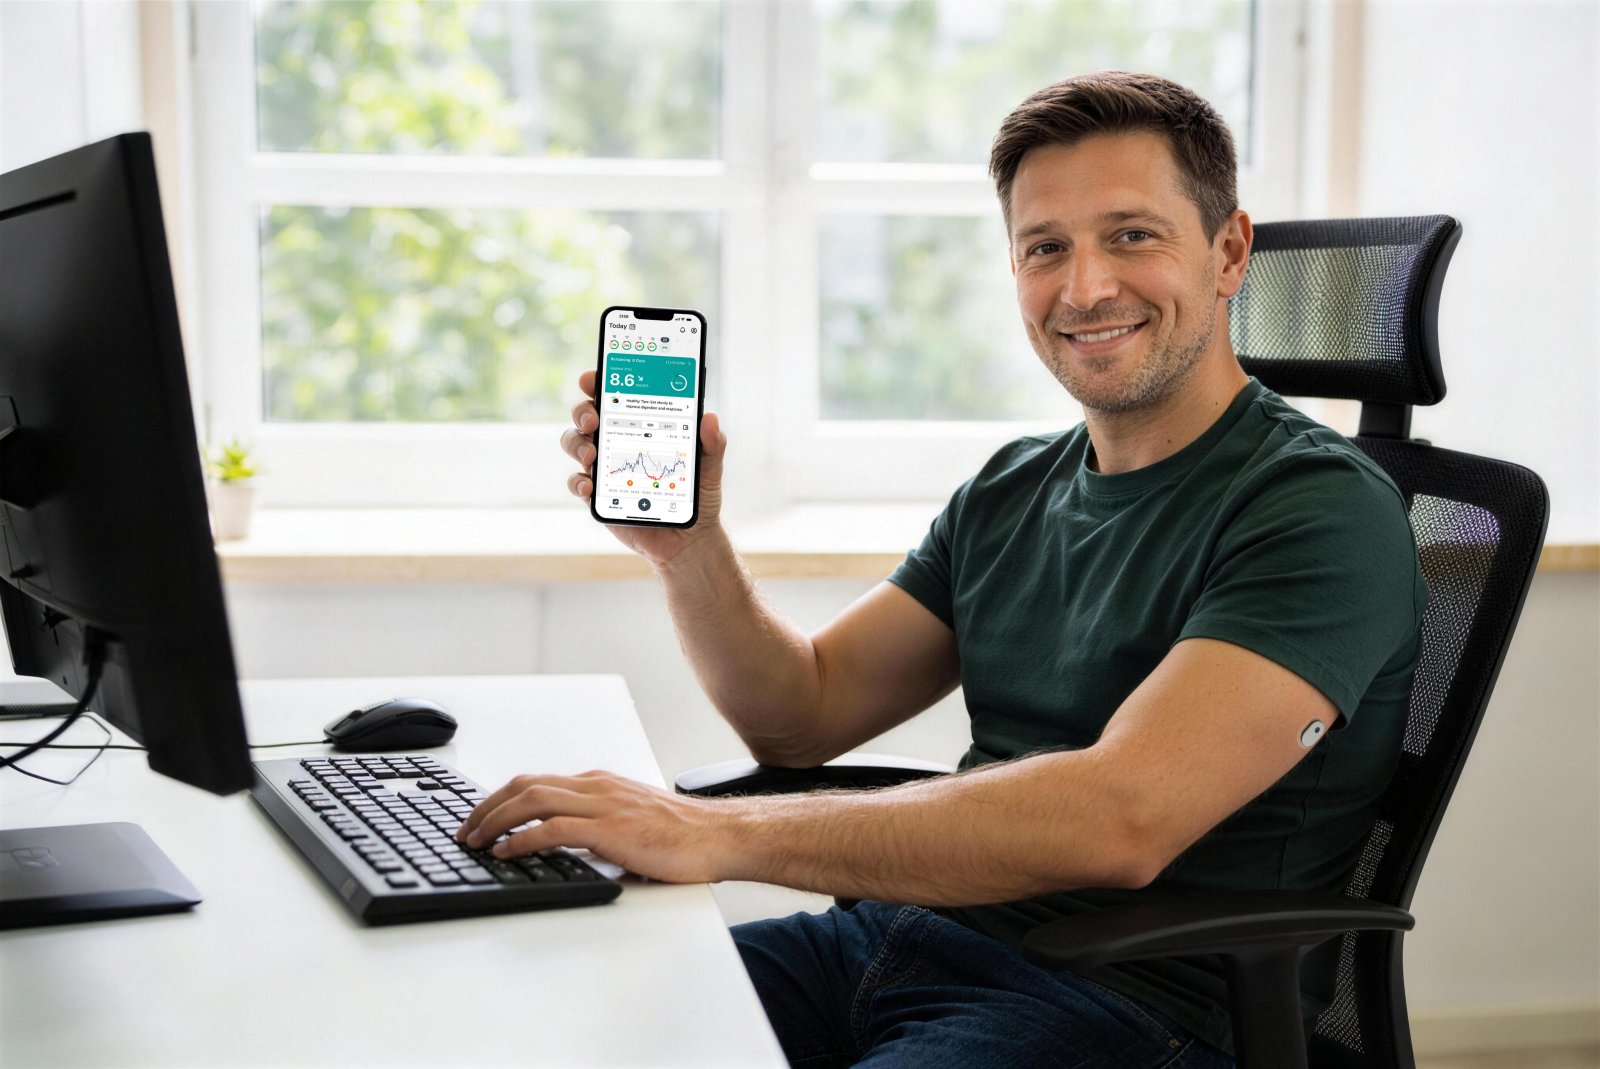
Applying a sensor takes only a few minutes. Wash your hands and choose a clean, dry area on the back of the upper arm. Follow the applicator instructions in the product insert, and avoid areas with scars, bruises or tight clothing.
After you apply the sensor, pair it with your app as the instructions describe. Some sensors need a short warm-up period before they give reliable readings.
Professional advice matters here. Always follow the instructions for use, and speak to your diabetes team if you have questions about placement.
Sibionics GS3-R Continuous Glucose Monitor (CGM) →
Step 3: Decide When to Check Glucose With Your CGM
A CGM shows you where your glucose is heading, which helps you act sooner. You can check the app at times that suit your routine, following the plan agreed with your diabetes team.
Pay attention to the trend arrows as well as the number. A reading that is falling quickly may need action even if it is still within your target range.
- Check before meals and exercise
- Review the trend, not only the current reading
- Respond to alerts promptly, following the advice from your diabetes team
Step 4: Know When a Finger-Prick Check Still Matters
A CGM is a useful tool, but it does not replace every blood test. The product information advises a finger-prick test if your readings do not match how you feel, or if you think they may be wrong.
Do not ignore symptoms that may be due to low or high glucose. If you feel unwell, seek medical attention when appropriate.
Watch out: relying only on a sensor reading when your symptoms do not match it can delay treatment. Test with a meter and speak to your clinician if the two disagree.
Step 5: Build Daily Habits Around Your Glucose Trends
Your glucose trends are most useful when you act on them with a steady routine. Many people link their checks to meals, activity and sleep, so patterns become easier to spot. Keep a simple record of what you eat, how you move and what your readings look like. Over time, this can show you which habits help your glucose stay steadier. Share these patterns with your diabetes team at each appointment.
Habit |
When to Do It |
What to Watch For |
|---|---|---|
Review trend arrows |
Before meals |
Rapid falls or rises |
Check before exercise |
Before activity |
Readings that are too low |
Log meals and activity |
Daily |
Patterns across the week |
Share data with your team |
Each appointment |
Trends that need review |
Managing the psychological side of moving away from finger pricks
For many people, the hardest part of diabetes management is not the technology, it is the anxiety built up around testing. Needle phobia and the dread of finger pricks are common, and they can lead to skipped checks and poorer control. Moving to a sensor can reduce that burden, but it is worth acknowledging the emotional shift: some people feel reassured by seeing continuous data, while others find the constant stream of numbers anxiety-provoking. If anxiety around glucose numbers is affecting your daily life, speak to your diabetes team.
Integrating glucose data with fitness wearables
A sensor gives you glucose data; a fitness wearable gives you activity, sleep and heart-rate data. Putting the two side by side can reveal patterns neither shows alone, for example, how a poor night's sleep affects your morning glucose, or how a particular workout changes your levels for hours afterwards. Check whether your sensor's app supports exporting or syncing data before you rely on it, and review the combined picture with your diabetes team rather than acting on a single day's numbers.
Watch out: treating every high or low reading as a failure can undermine the benefit of continuous data, look for trends across days, not single points.
Booking Your Sibionics GS3-R Starter Sensor and Next Review
If you are ready to try a CGM, the Sibionics GS3-R is available as a single sensor for £48.00, a two-pack for £85.00 and a three-pack for £120.00. Visit the product page to choose the option that suits you.
Once you have started, book a review with your diabetes team to discuss your readings and plan your next sensor.
Frequently Asked Questions
Can you manage diabetes without finger pricks?
Many people with diabetes can reduce routine finger-prick testing by using a continuous glucose monitor, which measures glucose in interstitial fluid under the skin and sends readings to a phone or reader. However, the Sibionics GS3-R product information advises that a finger-prick test should still be done if readings do not match how you feel or appear incorrect, and symptoms of low or high glucose should never be ignored. Speak to your diabetes care team before changing how you test, and follow the instructions for use closely.
Do you still need finger-prick tests when using a continuous glucose monitor?
Sometimes, yes. The product information for the Sibionics GS3-R states that you should do a blood glucose test with a finger-prick and your blood glucose meter if you think your readings are not correct or do not match how you feel. A finger-prick check is also a sensible step when symptoms suggest low or high glucose, because sensor readings can differ from blood readings, particularly during fast changes. Keep a meter available for these situations.
How often should you check your glucose with a continuous glucose monitor?
A CGM provides readings continuously, so you do not need to scan at fixed intervals to get data. You can check the app at times that suit your routine, and respond to alerts when set. How often you act on readings should follow the plan agreed with your diabetes care team, since needs vary between type 1 and type 2 diabetes and between individuals.
When should you contact your diabetes care team about glucose readings?
Contact your diabetes care team if your readings are repeatedly outside your agreed targets, if you notice unexplained patterns, or if you have symptoms that do not match your readings. Seek urgent medical attention if you experience severe symptoms of low or high glucose. Your team can help you interpret trend data, review your treatment plan and confirm whether a CGM is suitable for your circumstances.
